
After a very extended hiatus from all things Gundam related, I am happy to announce that I am building and painting Gunpla again! I definitely want to finish the MK II walkthrough that I started ever so long ago, but first I wanted to get my chops back. I figured this HG Graze would be a good little project, and I have been enjoying Iron Blooded Orphans, so this kit has been a fun little foray back into this great hobby! Read on for more!

I am constantly amazed at the level of innovation that each new line of Gunpla brings to the table. One must commend the efforts that have been made to improve the build and color separation of the HG kits. The Graze was a great build, lots of clever nub placement and more details than I'm used to seeing on kits of this scale. Truth be told, I only bought this particular mobile suit because the Barbatos was sold out on Amazon, but I'm certainly not disappointed!

I'm going to be painting this kit the expected colors and, per my usual style, throwing some serious metallics in notable areas. I also shuffled through some decals and I'm thinking the HG Sinanju waterslides will work just fine to give this kit some added flair.

I actually received this paint booth as a gift from my parents a couple years ago, but due to my indefinite leave from the hobby, I hadn't even broken it in! Suffice it to say, it works very well for Gunpla.

I decided to go with Alclad II Duraluminum for the majority of the frame, barring a few pieces. The above piece runs underneath the torso and the copper plus the green armor will give it a bit of a Kshatriya vibe!

This mobile suit has an interesting gimmick wherein the head opens clamshell style and it reveals an internal sort of eyeball. The suit also has an external lens that is the same color. I painted both pieces with Duraluminum then clear yellow. From there I started the reverse wash process using Testors enamel black. You can just begin to see the metallic yellow eyeball peeking through.

...and the end result! I was actually quite dissatisfied with the way that the back and sides of the piece looked, so I masked the eye portion and did a once over with more Duraluminum. Perhaps I'll create a time lapse of the reverse wash process in the future, I must have used two or three dozen q-tips between the two lenses.

This particular mobile suit, like any of the Graze variants, uses a pretty cool lookin' battle axe. The weapon is cast as one piece, which presents some obstacles when painting, but I didn't want to pass up the opportunity to really do this thing justice. First I painted the handle using Alclad Steel, then I masked that off, leaving only the two halves of the blade exposed, and gave it a coat of Alclad Gloss Black Primer.
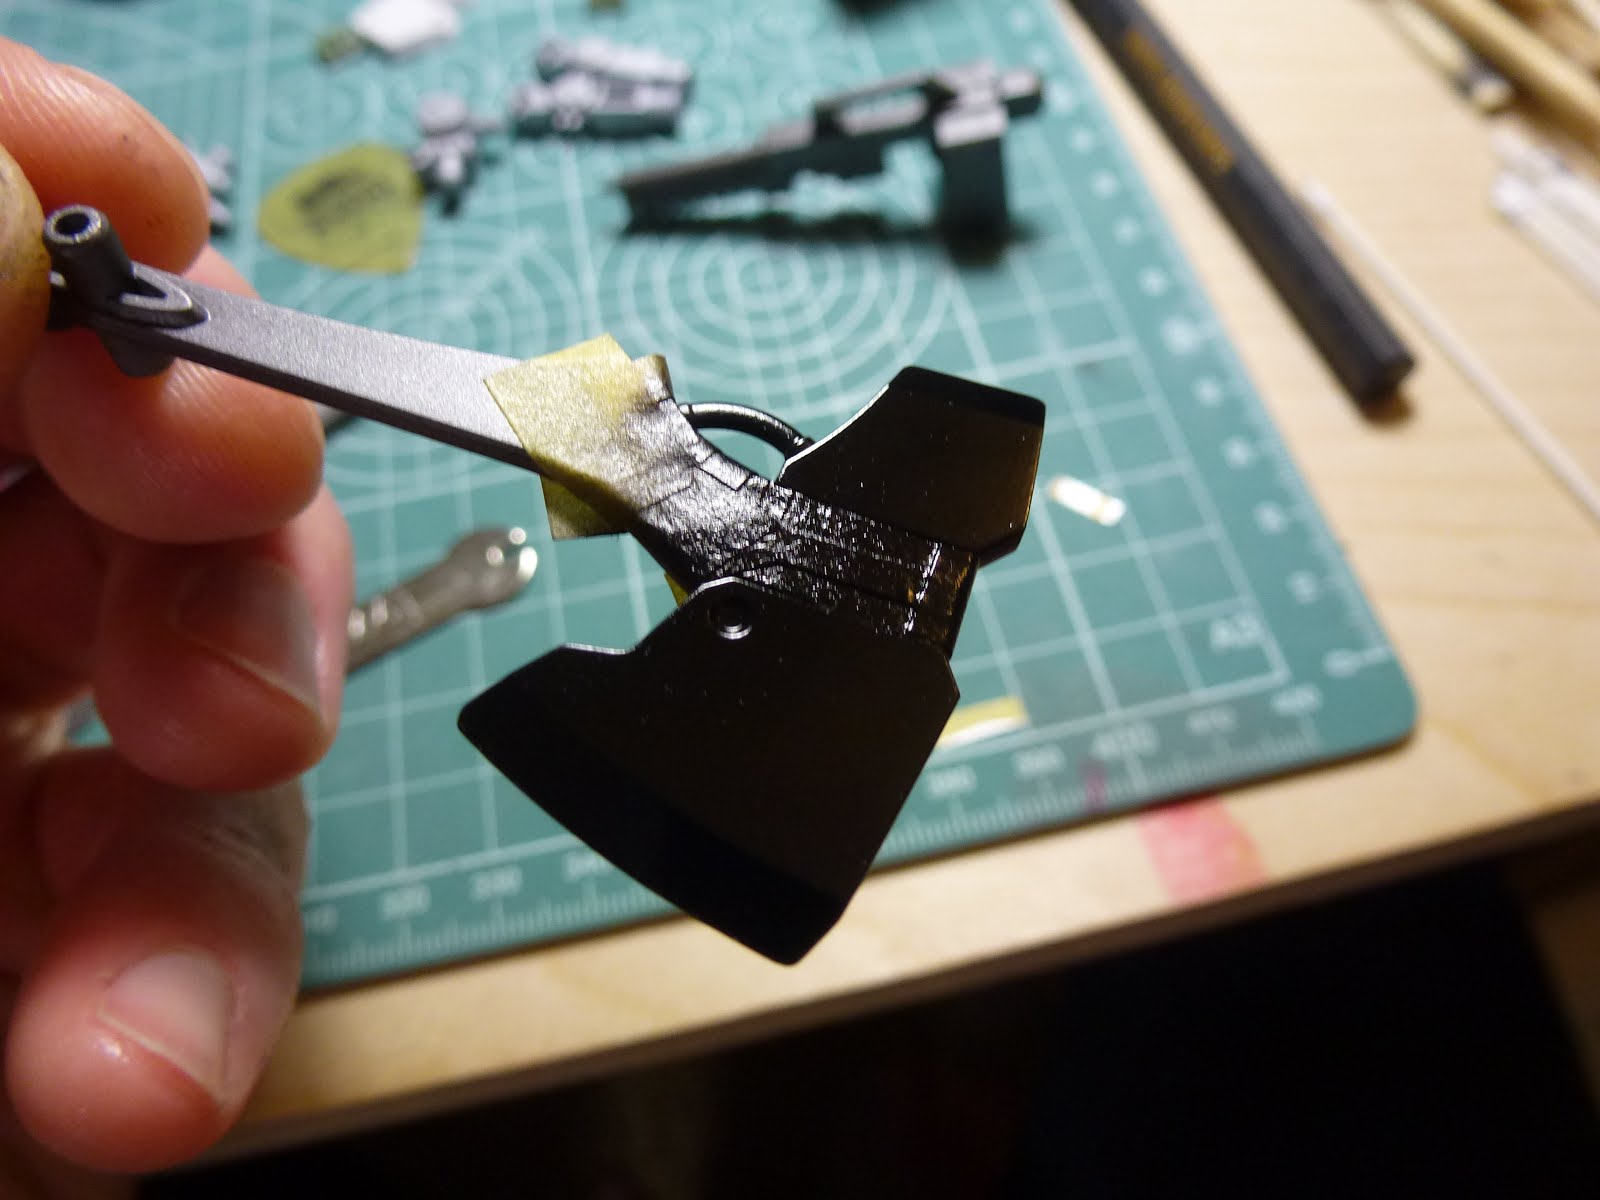
Definitely not the easiest masking job I've ever done; seems to be a theme with this kit...

Follow that up with some Alclad Chrome and you've got a pretty slick looking battle arm! I'm very tempted to coat the cutting edge with a layer of clear orange, to give it that Zaku feel, what do you guys think?

The last thing I wanted to mention in this WIP is a new technique that I'm trying out. I was watching a video the other day of a skilled Japanese Gunpla builder, and he did something very interesting; he added paint to his primer to change the color of the base coat. It seems so simple but I'd never considered it before. I'm trying it with this kit for all of the white armor panels, and you can see the difference in the above two pieces. The left is Mr. Surfacer 1200, the right is after a few drops of added black. I think this could be a very useful technique for those trying to post-shade their armor panels, particularly white pieces, much like he does in the video.
As always, thank you for reading! I will absolutely be posting on a more consistent basis from here on out. In fact, any post at all would be more consistent than I have been over the past few years!
No comments:
Post a Comment