
Nice job building your kit! Now it's time to take it apart. Despite feeling like wasted effort, it's very useful to build the kit first and then disassemble it to paint. Assuming you have selectively trimmed your male pegs throughout the build, then this step should not take long. I also have some tips and tools that can make this step much simpler. Read on to learn more!

Pictured above is the most useful piece of equipment I have found for disassembling Gundam models. Having a guitar pick handy can make your life much easier during this process. By using a thin, rigid pick, you can slide it through crevices and pry apart pieces that would otherwise be very difficult to separate.

This is the backpack from the Mk-II. As you can see, there's not much of a gap to work with here. In addition, the pegs on the inside are holding these pieces together pretty tight, despite having trimmed them.

By working the pick into the gap and sliding it along the edge of the piece, it should slowly start to separate. It can also help to twist the pick a little, pushing the sides farther apart.

And there you have it, the two halves of the backpack. Now that your piece is separated, take a moment to play an awesome guitar solo with your trusty pick (if that's your thing).
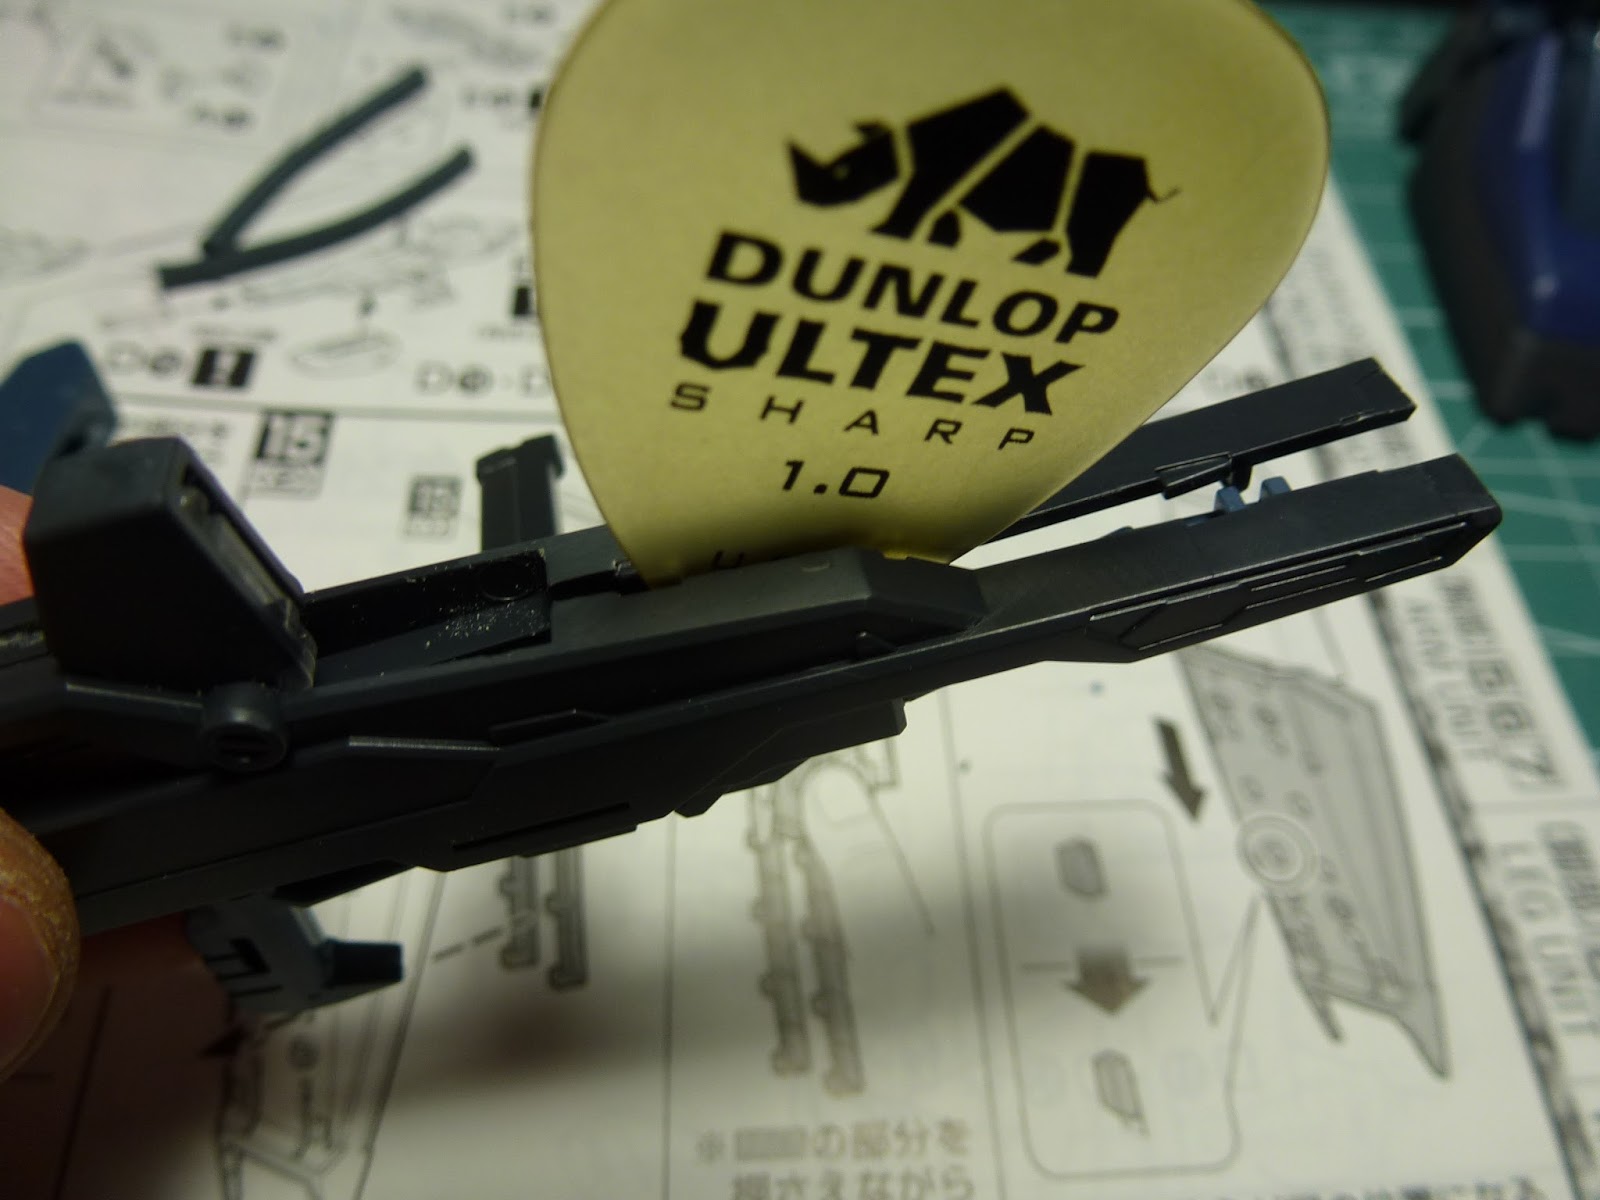
Another example of how the pick can be used to separate pieces. Components like guns generally have two matching halves letting you slide the pick right down the center.

Once you've broken down the kit, the parts need to be washed in preparation for painting. Some people prefer to wash the entire runner while the pieces are still attached, but since you're going to be handling the pieces a lot during the nub removal process, I prefer to wash them afterwards.
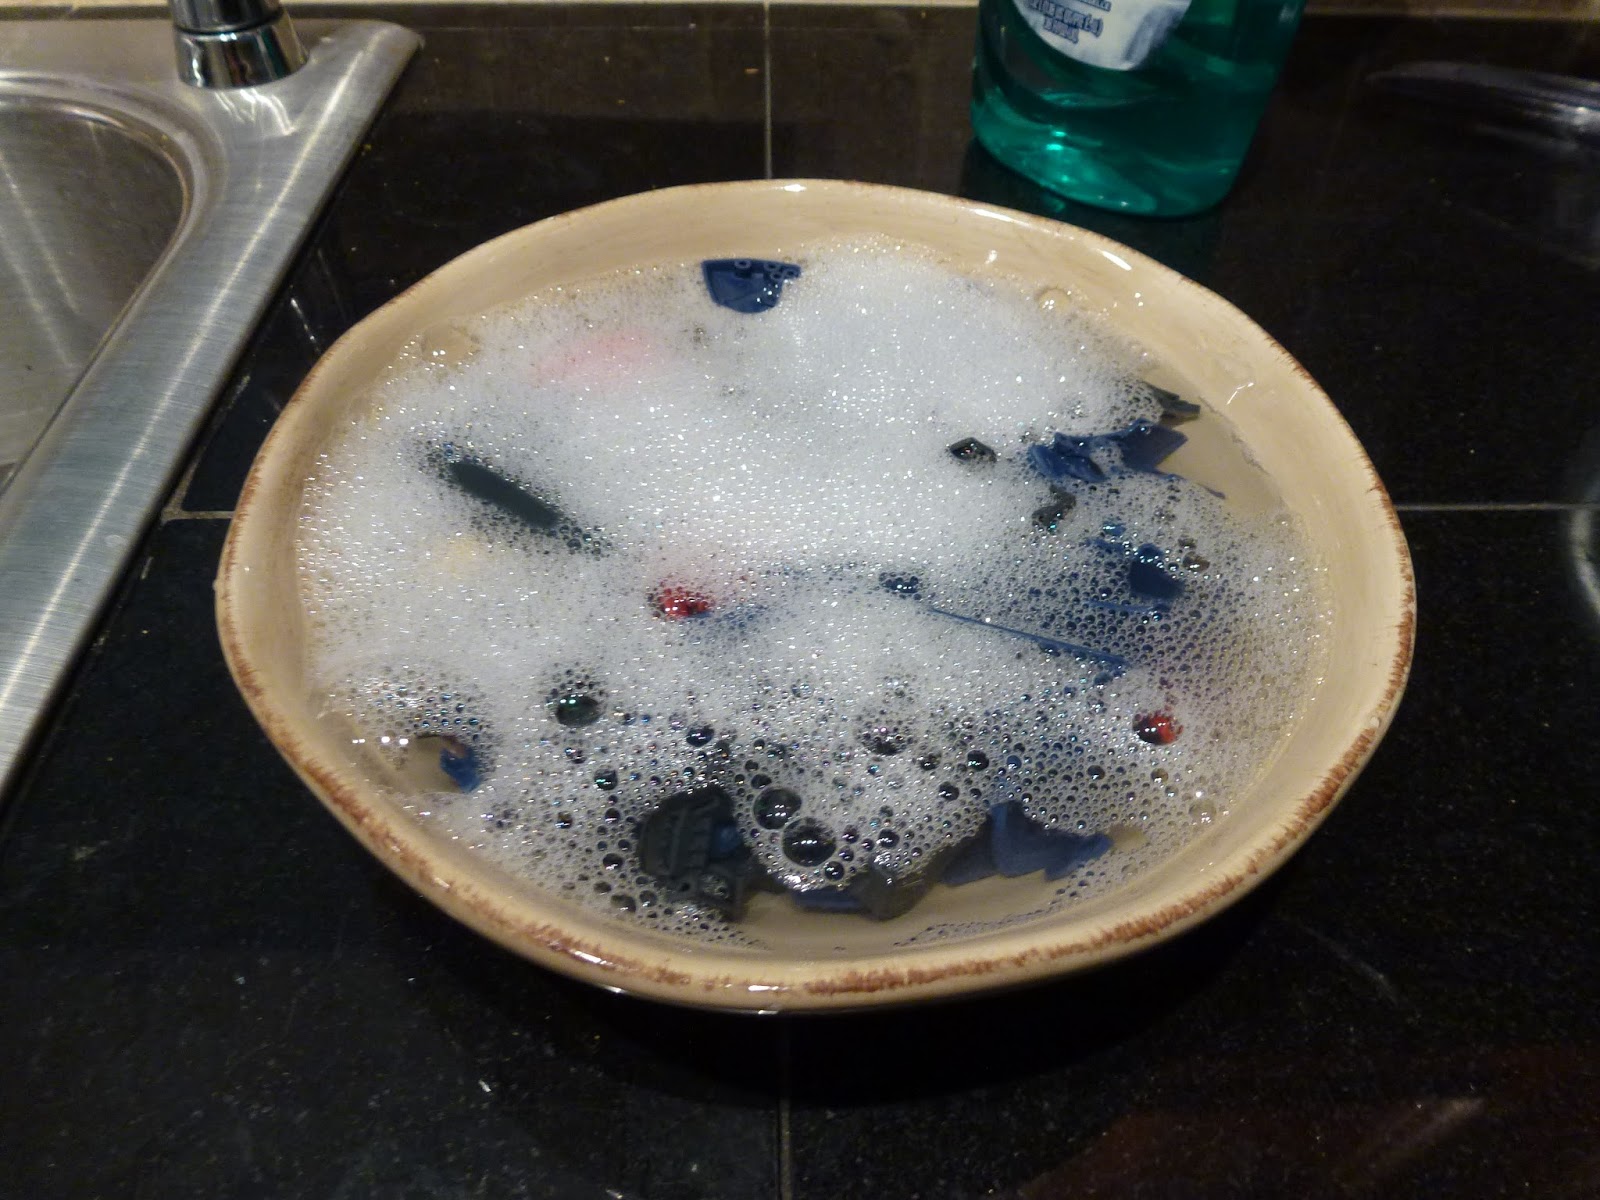
When the runners are released from the molds over at the Bandai Factory, they're left with a molding agent on them that can prevent your paint from adhering correctly. For this reason, it's important to wash all your pieces before painting with some type of degreaser. I just use regular dish soap but you can use purple power or a similar style degreaser if you want. Once you've created a suds, let the pieces soak for a few minutes so the dish soap can do its thing. This process will also wash away the grease from your hands and the dust from sanding nubs.

To rinse the pieces I dump them into this wire strainer and rinse under luke-warm water. If you're going to be using a strainer, make sure that the holes are small enough that parts won't slip through. Its also a good idea to put the drain plug in while doing this. It's not that hard to knock a piece into the sink, and the garbage disposal will eat your piece, with extreme prejudice.

After thoroughly rinsing your pieces, lay them out on a paper towel to dry overnight. Be sure to put this in a good place, out of reach of pets and children. I've had a piece stolen by my cat more than once.

When pieces are completely dry you can start to put them onto clips. Be sure to attach the clip to an area of the piece that does not need paint or will not be exposed such as inner pegs. It's a good idea to wear latex gloves at this point so that you don't get the oil from your fingers on your clean pieces.

After attaching all pieces to clips, it's time to start painting. In my next post I'll cover priming and painting, starting with the inner frame of the Mk-II, then progressing to the outer armor in the post after that. The fun stuff comes next, so stay tuned!
Back To Part 1: Assembly
To Part 3: Inner Frame
No comments:
Post a Comment